A few weeks ago I struck gold and found lots of goodies for right around $30. If I'd bought all this in the store, I'd have easily paid over $300. No, I am not exaggerating. I know, it's crazy how much things cost now. I sound old so I won't go down that road. I will share with you what I paid for each item, not to brag but to make it more interesting. So I hope you don't take this as bragging, but enjoy what I am sharing with you.
There is a lot to see in the picture, so I will point out the goodies for you. Please excuse the back yard in the picture, it was too cloudy to take a decent picture indoors. There is the gorgeous lamp with the red shade $5, the gold frame $5, the retro ice bucket $1, beside that is the faux maple picture frame ($.50) leaning against a bucket of cedar slats ($1) (Oh, the ideas I have for those!! Can't wait), there is a wicker basket $.50 ( I can never resist!), clear milk bottles ($.50 each), a decorative piece $3, a Vera Bradley insulated lunch tote ($2 WHAT!!), a turquoise and burgundy rooster hand towel $1, sunglasses $.50 each, two bead necklaces $.50 each, a National Audubon clock (Free, but I couldn't get it to work, so it went into the garbage.) and the barn wood coat rack $3 (LOVE), and you can see in the lower left-hand corner the top of the plant pedestal $4. What you can't see are many, many books $.50 for hardbacks and $.25 for soft covers. I love love love to read just about anything so yard sales are great for that. I just refuse to pay over $10 for a book, usually. :-)
 Here is the gorgeous lamp on top of our c.d. chest. My husband, kids and I are avid music lovers. From Frank Sinatra to Metallica, The Cure to Randy Travis, it's there. I love the way the lamp accents the rail fences quilt. At $5, I thought the lamp was a steal. It even had an energy efficient, long-lasting GE bulb. A dab of red will do ya. Some of the things I could use as is, like this lamp:


and the cozy red hen kitchen towel. For just $1, it so goes with the jasper walls of my kitchen. I love blue-green and green-blue, robin's egg, turquoise, jasper, whatever you want to call it. My country roots are showing in the chicken motif. Who doesn't love a little hen or rooster here or there? I do, I tell ya.

This plant stand was easy to make work by just adding the pot of perennials my sweet mother-in-law got me for Mother's Day. Thanks Nanna!! I am one of those people who meets no strangers, so I discovered at a yard sale that the lady was tired of moving this beauty and it was time to part ways. At $4, I was ready to arm wrestle my mother for this. Just kidding, I offered it to her first. She has the same pedestal obsession that I do. I have paid $20 for smaller ones at a big box store, so I was excited she passed on it.

I think the decorative piece add to the gray and yellow scheme of my home. It just needs something, but I'm not sure what. If you have any easy ideas, feel free to comment. It was ready to find it's home at $3, I just couldn't pass up this heavy wrought iron piece. The patina and detail are just precious.
 The last thing I used as is is this barn wood transformed into a coat rack. The rose bud pegs are just too cute. It is a great addition to our entryway at $3.
Here it is, pictured with items hanging from it. Just for a different look.
Now for the items that I just had too many ideas for them to use them as they were. I will share tutorials in future post and add links to them as I add them so that you can use them if you are a DIY-er like me. :-)

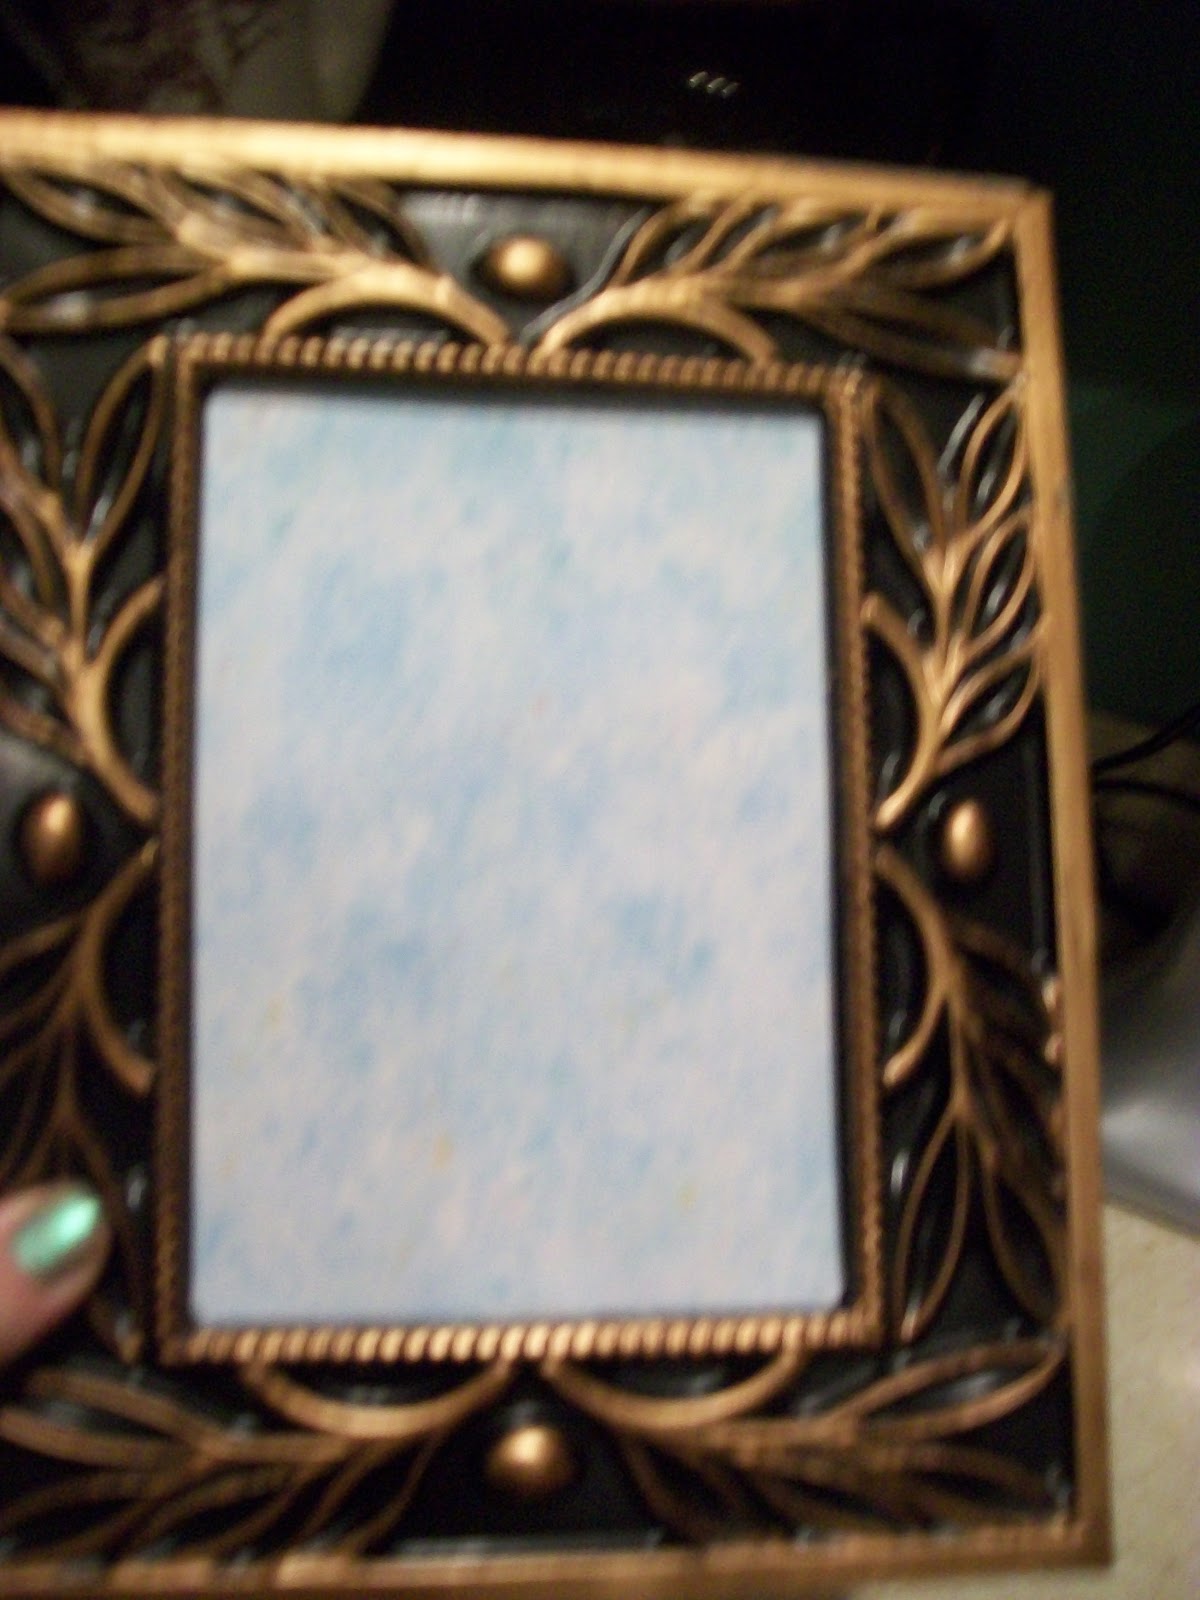
Here's my little princess's mirror. It was pretty easy to transform from the gold frame. I just prepared it with a thorough cleaning, used newspaper to cover the glass and then used Rust-oleum's GLOSS MAUI BLUE spray paint to cover it. I then added mirror hardware to the screws in the back and hung it. It went over well with my little princess. She uses it when getting ready each time we go out. The flash caught the background and you can spot several Disney items. We do love us some Disney. I painted the faux-maple picture frame to match the mirror and added a pic of my little princess and her favorite princess, Pocahontas. I think my husband's Cherokee heritage draws her to Pocahontas. Can't say I blame her. I talked a very sweet,artistic lady down from $7 to $5 on this great bargain. Don't judge, negotiating is part of the fun of yard saling, as long as you don't take yourself too seriously and get easily offended and are kind about it. :-)
 I just matted the frame with some scrapbook paper I had on hand. I just love Rust-oleum and this gloss Maui blue. It went on well and just used two coats after primer. I just use the regular Kilz that you'd us on a wall. It worked great with the mirror as well. I found this frame at a distant cousin's yard sale and was happy to snag it for $.50. Yes, 50 cents. Cool beans!

Here's a better pic of the original gold mirror. Behind it you can see the faux-wood ice bucket in all it's 70's glory. Let's just say, this was the most tedious project of the bunch because I had to completely disassemble it and clean it before I could begin the decoupage process. It was a booger to get back together. We developed a love/hate relationship. But I think it turned out well with the scrapbook paper, Modge Podge, and chrome vinyl letters.

I just love the green and silver together. It will serve us well since we stay outdoors much of the time. I paid $1 for the ice bucket and wondered about half way through the project if it was a waste of my time and money, but I like it a lot now.


Last but not least, I tinted the clear milk bottles with food coloring and Gloss Modge Podge. Note: Do not use water in them or the color and glue with come off into the water. It did make for a lovely picture though with the wildflowers my little princess picked for her Mimi. I only paid $.50 a piece for the milk bottles, so I didn't feel too bad over the water mishap.
I will link tutorials to this post as I add the tutorials. I hope you enjoyed my post. If you did, be sure to follow me so that I can share more ways to make a home homey without spending a fortune. Be blessed. Courtney C.