 Happy Halloween, everyone, a day late! I hope you all had a blessed day and stayed safe last night. We attended our church's Fall Festival, so we were safe from traffic. I pray you and yours were safe as well. With the way people drive on Halloween, you'd think people were handing out five dollar bills, right?
Today's post isn't about Halloween or any other season but something I thought I'd share that will help your new friends and forgetful friends (like me) when they come to visit and need to, well, visit the potty. I don't know about you but we people ask where my bathroom is, I forget to count the hallway closets and always say the second door on the right, hence the very messy linen closet, scary in its own right. :-)

I found a tutorial for one of these cute signs, but changed the aging/distressing process a bit. The one I found on pinterest used the process of spray painting over multiple colors and layers to produce an antique look. I love it, but I am more comfortable with knicking up the second layer of paint with duck tape. We love duck tape, and any chance to use it, I'll take it.
The materials you need for this project are:
a plant hanger ( I bought this one from Lowe's a few years ago on clearance)
an oval plaque ( I bought mine at Wal-Mart for $.97 It's double sided,so you can letter both sides.)
stencil letters, scrapbooking stickers, or cricut-cut letters
( I used storybook and cut the letters on cheap white vinyl from Lowe's)
two colors of paint ( You might want to coordinate with the walls in your hallway or room in which the
sign will hang)
a cup hook You will use this to attach the plaque to your plant hanger
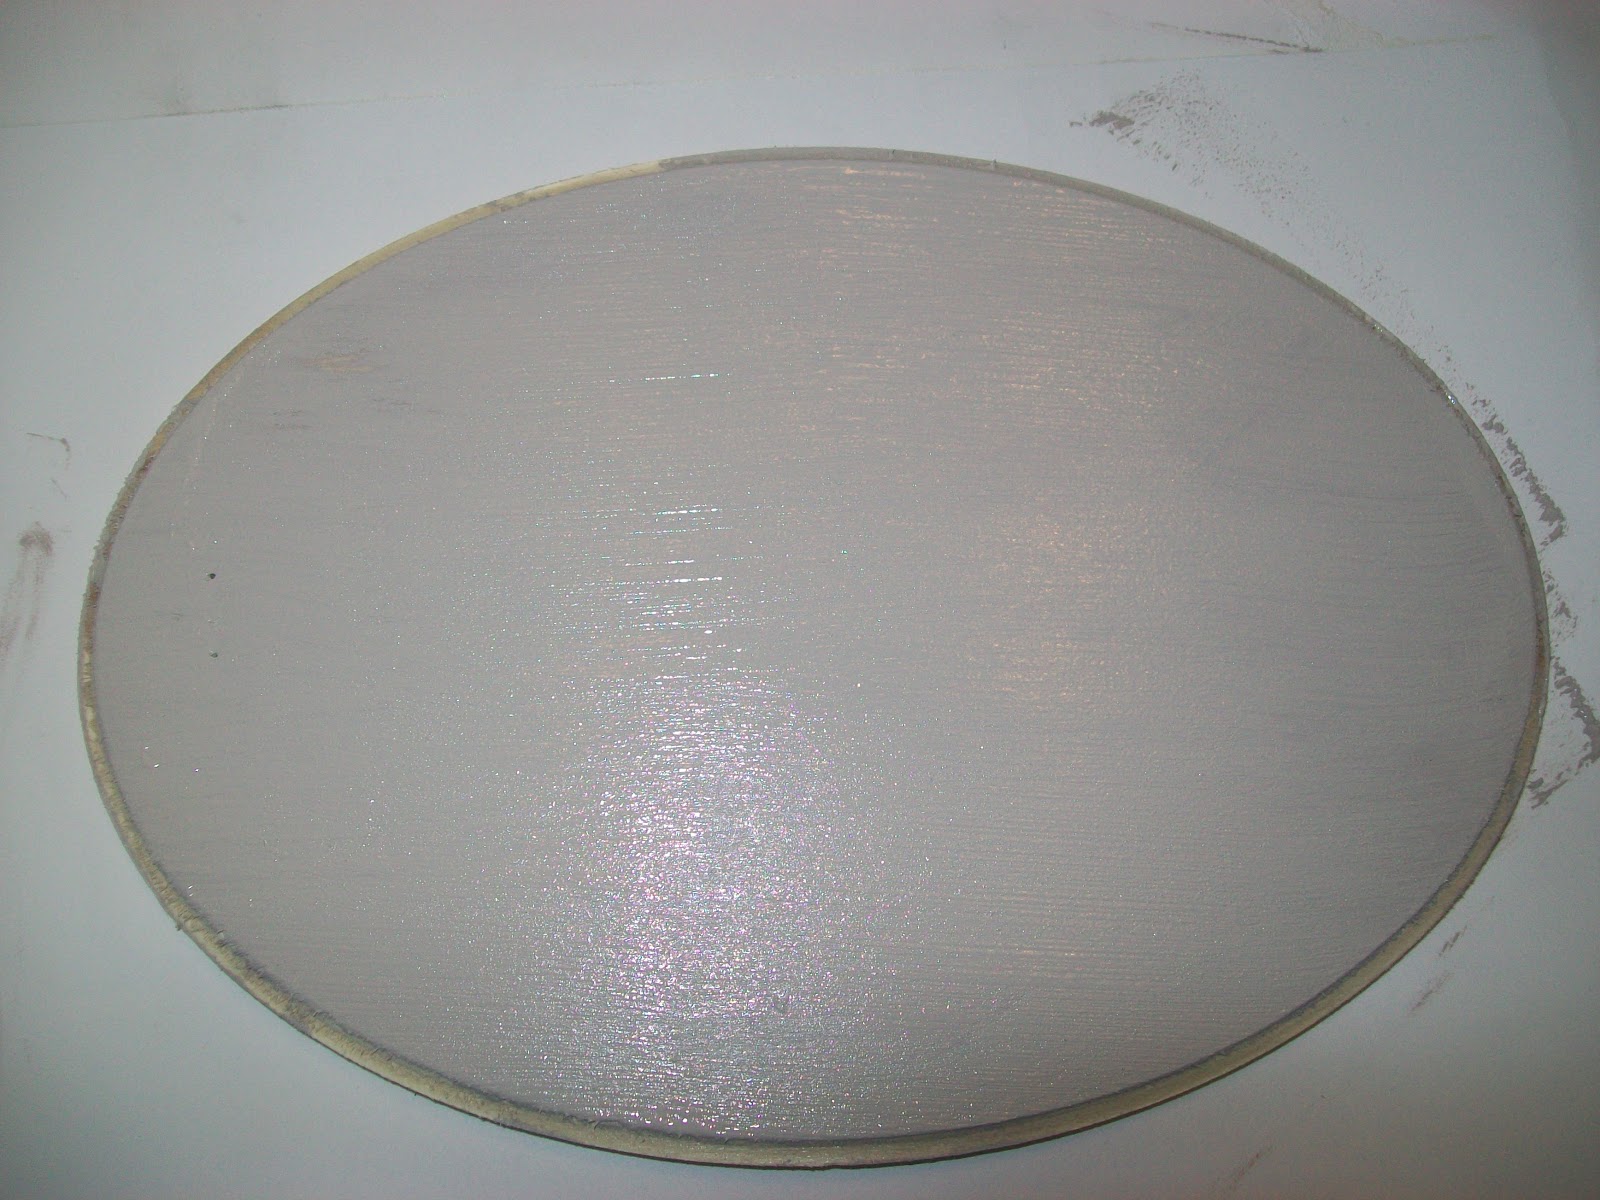
The first step is to paint your plaque on both sides so it will look even on both sides and people can find it from either direction. This will be the color of your letters, so think about what color you want for your letters. I wanted my letters the same color as the hallway so I chose Valspar's London Coach. This is a pic before I finished the sides so it really looks better than this. I am an impatient photographer in process. :-)
Below is the cricut I used to cut the vinyl. I just used the cheap white vinyl like you find at Wal-Mart and Lowe's to cover your shelves, so it was around

Below is a picture of how the vinyl looked before I painted over the whole thing with white paint. This protects the paint underneath the letters so that you get a great layered look. Make sure you press vinyl or stickers down well so that you will get a clean look.

Next, just stick on your letters. Remember to cover both sides so that people can read it from both sides and it's even. If you're not a tad OCD, this probably doesn't bother you.

BEFORE YOUR PAINT DRIES COMPLETELY, about 10 minutes after you have covered it, you will take painter's tape or duck tape, whatever you have, and stick it down around the outside of the letters. It will peel the white off giving it a distressed, weathered look. Stay away from the letters or they will not be crisp and clean when you peel the stickers free.


Complete the other side and hang it and VIOLA!

I hope you all have a blessed weekend!
Courtney C.